When data is added to ArcGIS it won't have any pre-defined symbology.
You can either set up your own symbology for each layer or, if available,
you can apply style files that have previously been created. For
information on setting up your own symbology please refer to the applying
basic symbology topic.
Setting up symbology can be time consuming; an alternative is to make
use of a pre-defined symbology definitions. ArcGIS allows legend (.avl)
files and layer (.lyr) files to be applied to a layer in ArcMap, allowing
us to make use of these pre-defined files.
Before adding the layer files to ArcMap it is possible to set the data
source for each file. To do this see the following steps:
Open ArcCatalog and connect to the folder containing the layer
files.
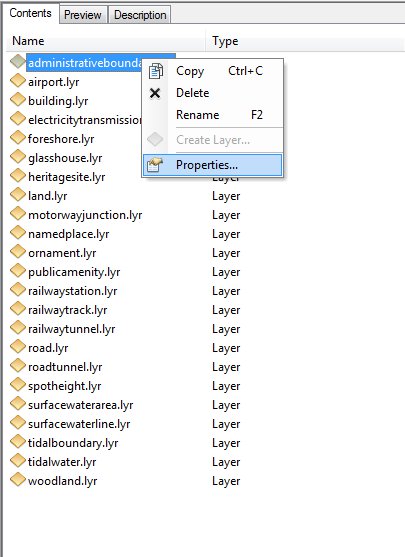
Select the folder containing the layer files, right-click on each
layer file in turn and click on Properties.
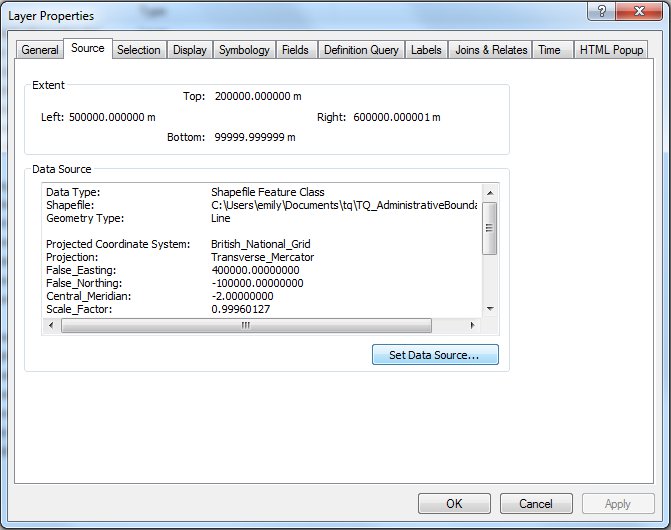
Select the Source tab, and then click on Set Data Source.
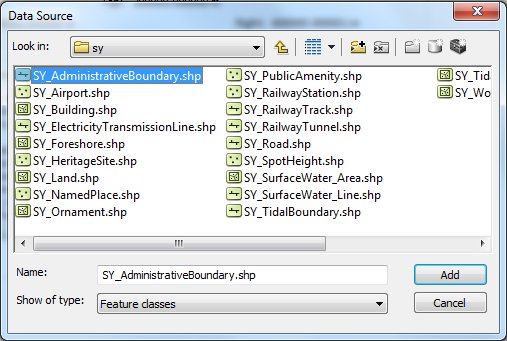
Navigate to the location of the data that matches the layer files.
Select the corresponding data that matches the layer file that
you have selected.
Click Add, then Apply and then OK
Repeat the above steps for each layer file.
Once you have set the data source for all layer files, open ArcMap.
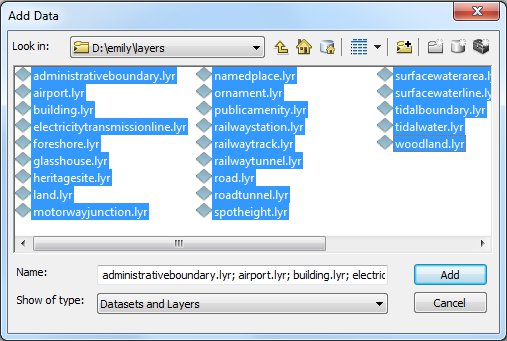
Using the Add Data button, navigate to the location of the layer
files that you just set the data source for and add all the layer
files to your ArcMap document.
Add the layer files to ArcMap then repair the data source
In essence this is the same process as the previous section but the
work of setting the data source for each layer file is done in ArcMap
rather than ArcCatalog.
Using the Add Data button, navigate to the location of the layer
files and add all the layer files to your ArcMap document.
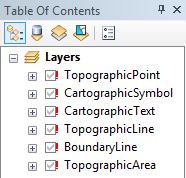
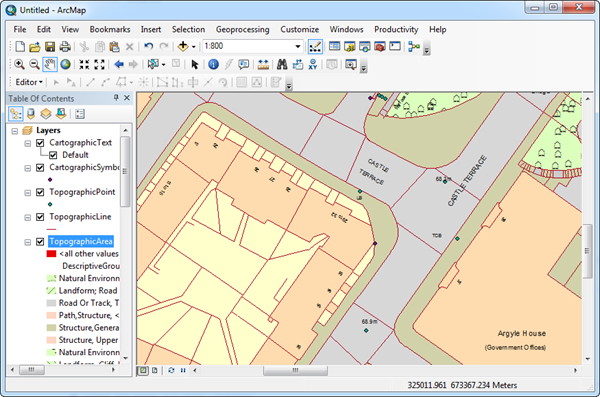
The layers will display with an exclamation mark next to each one
in the Table Of Contents, indicating that the data source cannot be
found and no data will be displayed in the map window.
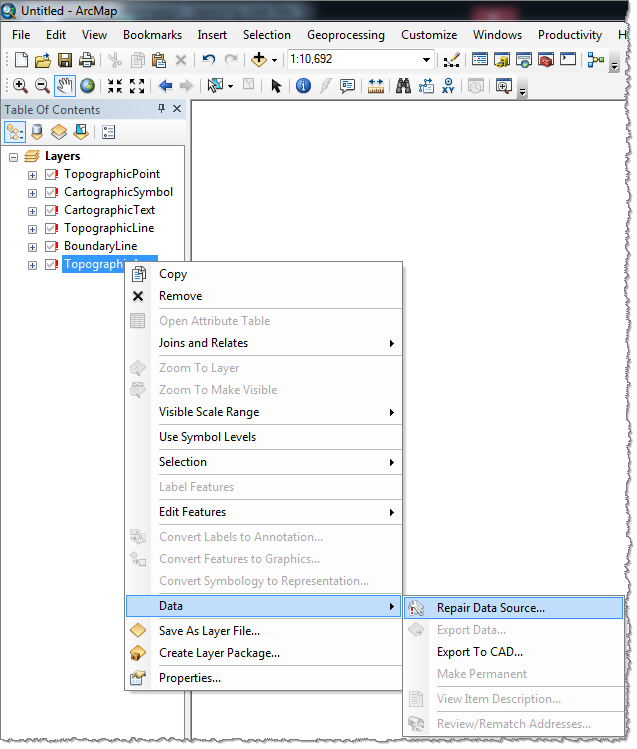
Right-click on each layer file in turn and select Data
then Repair Data Source...
from the popup menu.
Navigate to the location of the data that matches the layer files.
Select the corresponding data that matches the layer file that
you have selected and select Add.
If all your layer files and data files are in the same location
ArcMap will try to repair the data source for all layers. However
if you are displaying data from multiple different locations it may
be necessary to repeat the above steps for the other layers you are
displaying.
The properties of a layer in ArcMap are accessed through the Layer
Properties form. To access this form, double click on a layer item
in the table of contents, or select a layer, and then right-click,
and from the context menu choose Properties:
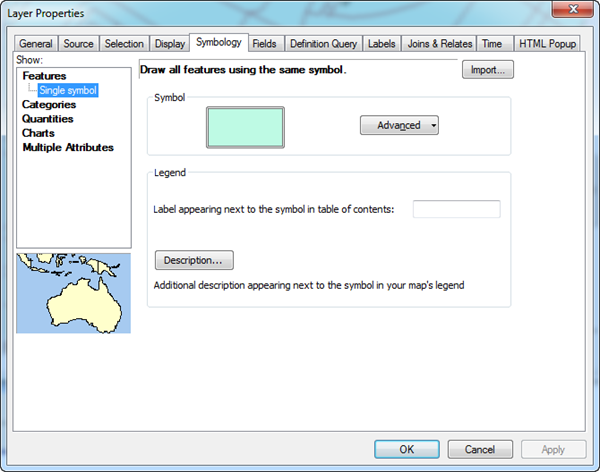
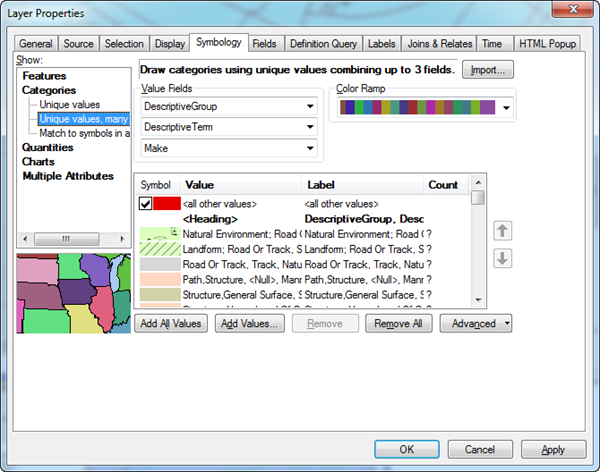
On the Layer Properties form, under the Symbology tab, click the
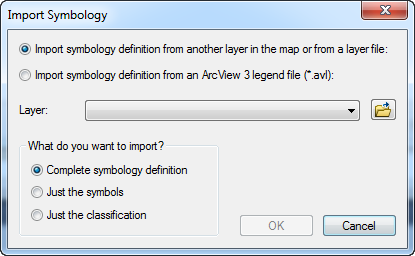
Import button to bring up the Import Symbology form:
To import symbology from a layer (.lyr) file you should set the
radio button to 'Import symbology definition from another layer in
the map or from a layer file' and then click the open file button
to navigate to the location of the .lyr file on your local disk. Ensure
that the lower left radio button is set to Complete symbology definition
and then click OK.
At the Import Symbology Matching Dialog, ensure that the Value
Field drop down is set correctly, and then click OK. The main Layer
Properties form will be displayed again with the imported symbology
applied:
Click OK to return to ArcMap to view the imported symbology with
your data: